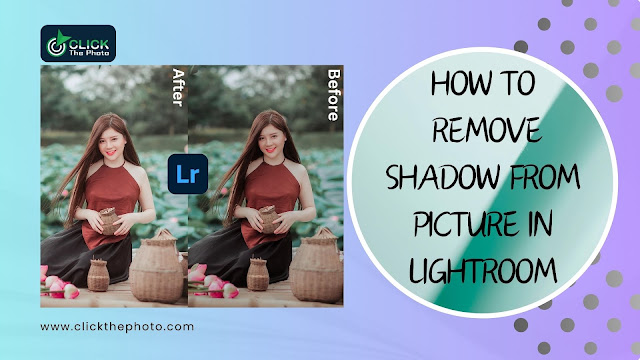
Capturing the perfect photo can sometimes be challenging, especially when dealing with unwanted shadows. Shadows can obscure important details, detract from the overall composition, and even diminish the mood you're trying to convey. Fortunately, with the right tools and techniques, you can easily remove shadows from your pictures and enhance their visual appeal. In this guide, we'll delve into the world of Adobe Lightroom and explore effective methods for removing shadows to elevate your photography game.
Understanding Shadows in Photography:
Before we dive into the process of removing shadows, let's take a moment to understand their role in photography. Shadows are created when light is blocked or obstructed, resulting in areas of darkness within an image. While shadows can add depth and dimension to a photograph, excessive or unwanted shadows can overshadow key elements and diminish the overall quality of the image.
The Importance of Lightroom:
Adobe Lightroom is a powerful tool used by photographers worldwide for editing and enhancing their images. With its array of features and intuitive interface, Lightroom provides photographers with the tools they need to transform their photos from ordinary to extraordinary. One of the key features of Lightroom is its ability to manipulate exposure, contrast, and shadows, allowing users to fine-tune their images with precision and control.
Removing Shadows in Lightroom:
Step 1: Import Your Image into Lightroom
Begin by launching Adobe Lightroom and importing the image you wish to edit. You can do this by clicking on the 'Import' button and selecting the desired image from your computer or external storage device.
Step 2: Open the Develop Module
Once your image is imported, navigate to the Develop module by clicking on the 'Develop' tab located at the top of the Lightroom interface. This will bring up the editing tools and controls you'll need to adjust the shadows in your image.
Step 3: Adjust the Shadows Slider
In the Develop module, you'll find a panel on the right-hand side containing various editing sliders, including those for exposure, contrast, highlights, shadows, and more. To remove shadows from your picture, locate the 'Shadows' slider and adjust it to the right to brighten the darker areas of your image. Be careful not to overdo it, as this can result in loss of detail or introduce unwanted noise.
Step 4: Fine-Tune with Graduated Filters and Adjustment Brushes
In addition to the global adjustments made with the Shadows slider, you can also use graduated filters and adjustment brushes to selectively target and remove shadows from specific areas of your image. Graduated filters are useful for adjusting exposure and contrast in specific areas of your image, while adjustment brushes allow for precise adjustments to be made to smaller areas.
Step 5: Experiment with Tone Curve and HSL Adjustments
For further refinement, experiment with the Tone Curve and HSL (Hue, Saturation, and Luminance) panels in Lightroom. The Tone Curve allows you to adjust the tonal range of your image, while the HSL panel provides control over individual color channels. By fine-tuning these settings, you can further reduce shadows and enhance the overall look of your picture.
Step 6: Review and Export Your Edited Image
Once you're satisfied with the adjustments you've made, take a moment to review your edited image in Lightroom's Loupe view. Pay close attention to details such as exposure, color balance, and shadow intensity. When you're happy with the results, click on the 'Export' button to save your edited image in the desired format and resolution.
Learn More:
Additional Tips and Techniques for Shadow Removal:
- Utilize the Histogram: The histogram in Lightroom provides a graphical representation of the tonal distribution in your image. By analyzing the histogram, you can identify areas of shadow clipping (where details are lost due to excessive darkness) and make targeted adjustments to restore detail in those areas.
- Use the Tone Curve for Precise Control: The Tone Curve panel allows for precise adjustments to the tonal range of your image. By manipulating the curve, you can selectively brighten shadows while preserving midtones and highlights, resulting in a more balanced and natural-looking image.
- Blend Multiple Exposures: In cases where shadows are particularly challenging to remove from a single exposure, consider blending multiple exposures of the same scene to achieve optimal shadow detail. This technique, known as exposure blending or HDR (High Dynamic Range) imaging, involves combining multiple images taken at different exposures to create a final image with enhanced dynamic range and detail.
- Experiment with Dodging and Burning: Dodging and burning are traditional darkroom techniques used to selectively lighten (dodge) or darken (burn) specific areas of a photograph. In Lightroom, you can achieve similar effects using adjustment brushes or the Dodge and Burn tool. By selectively brightening shadowed areas and darkening highlights, you can create a more balanced and visually appealing image.
- Consider Creative Compositions: Sometimes, rather than attempting to remove shadows entirely, embracing shadows as part of your composition can add visual interest and depth to your photos. Experiment with different lighting angles, subjects, and compositions to incorporate shadows in creative and compelling ways.


.jpg)

0 Comments